CARE & REPAIR
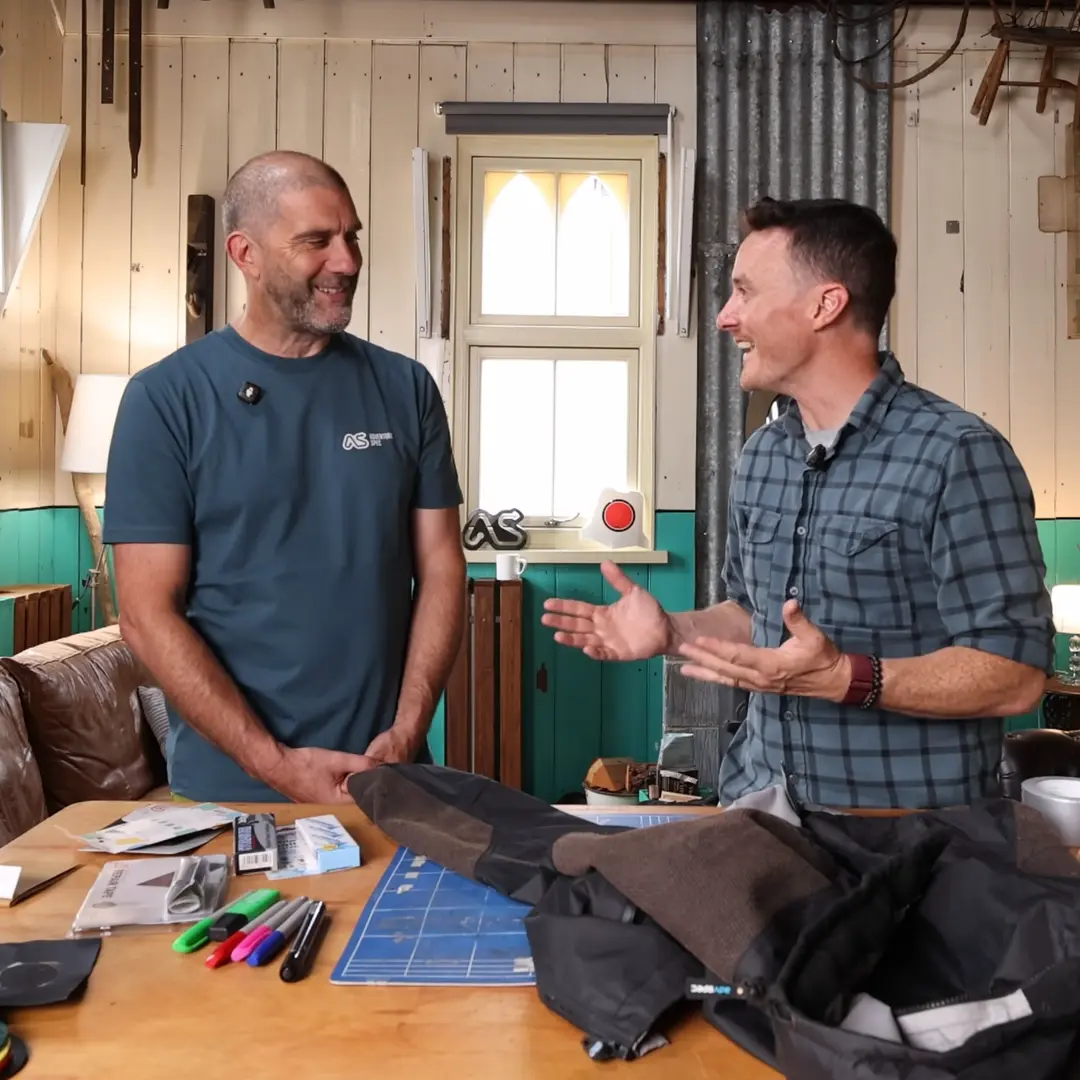
How to wash & reproof your technical clothing
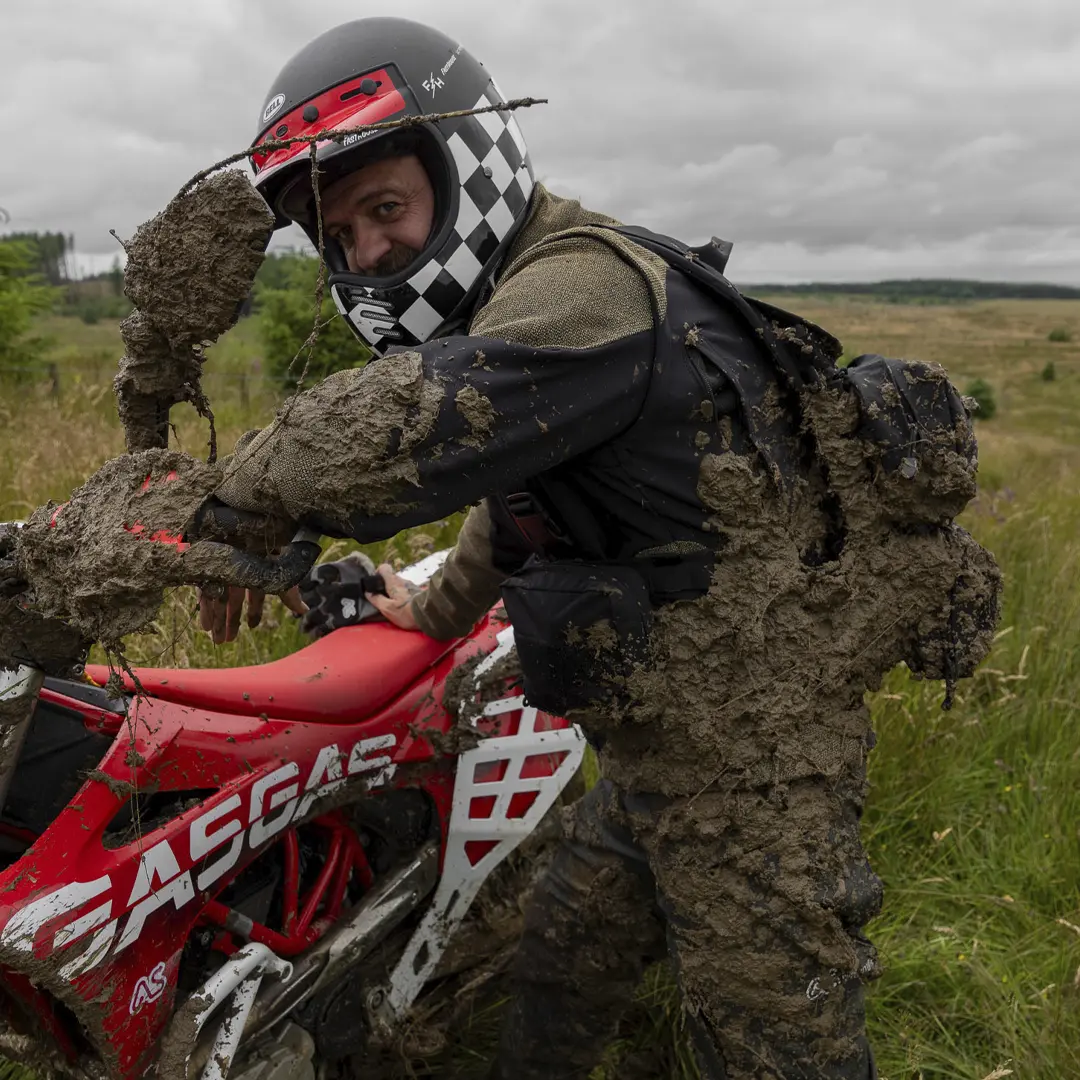
If you are adventure riding right, you are going to get muddy.
Our gear is designed to take a hammering, and get washed, lots.
Watch Jim's step by step guide to how to wash and reproof your riding gear to keep it going for longer.
Need to wash your Supershirt? Hold up, there's a special guide for you right here.
(You must not tumble dry your Supershirt!)

1: Remove dirt
Jet wash from about a metre away, or use a bucket, a brush and clean water. Remove lumps of mud, grime and grass so they don’t clog your washing machine.

2: Prep your washing machine
Run an empty cycle with no detergent and no clothes. This clears out household detergent residue that would undo the technical wash.

3: Prep your gear
- Empty every pocket and open all the pocket zips.
- Loosen every drawcord (waist, hood) to its loosest setting.
- Undo the Velcro cuff and hood tabs to their loosest setting, then press the Velcro down flat.
- Do the main zip up fully.

4: Wash with technical wash
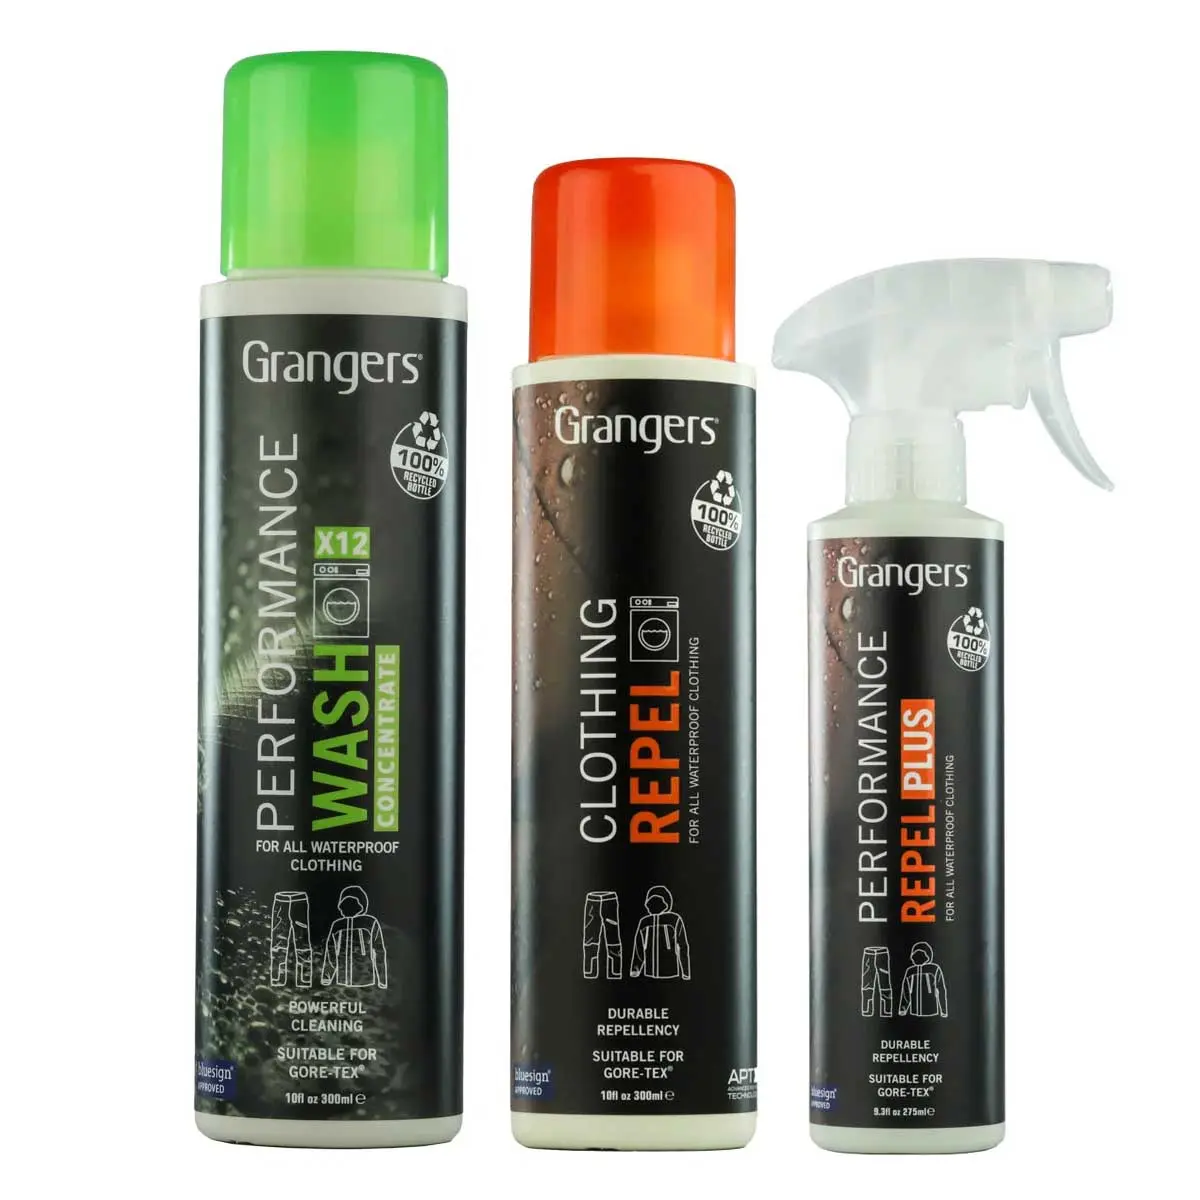
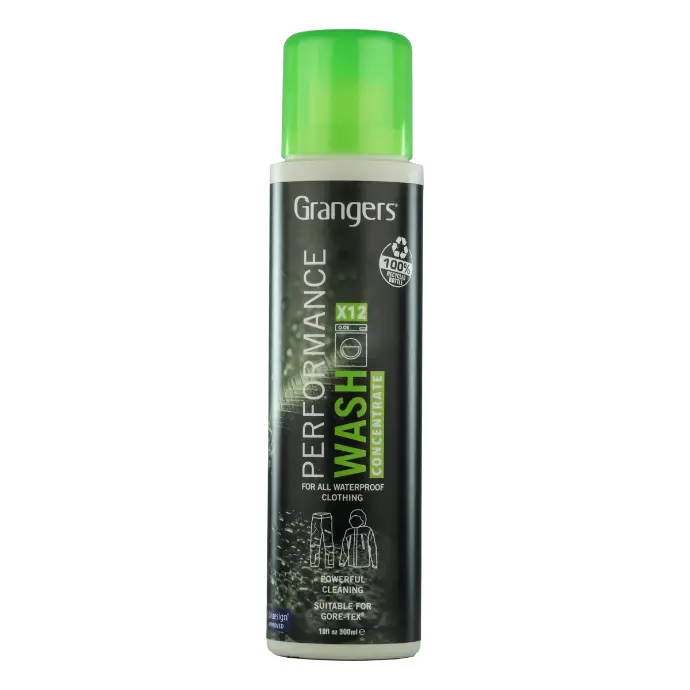
Put in one or two items, depending on the size of your machine. Add a technical wash (we use Grangers Performance Wash) to the normal detergent drawer. Run a 30°C gentle cycle.

5: Reproof
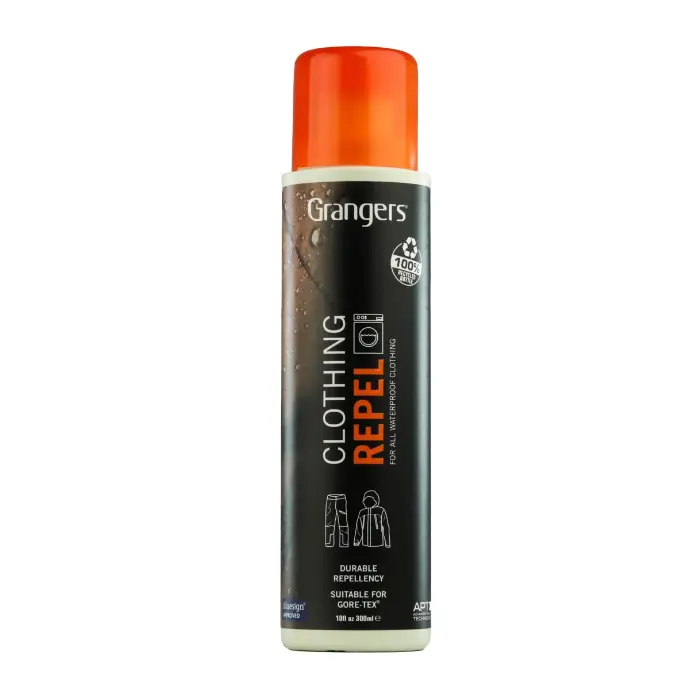
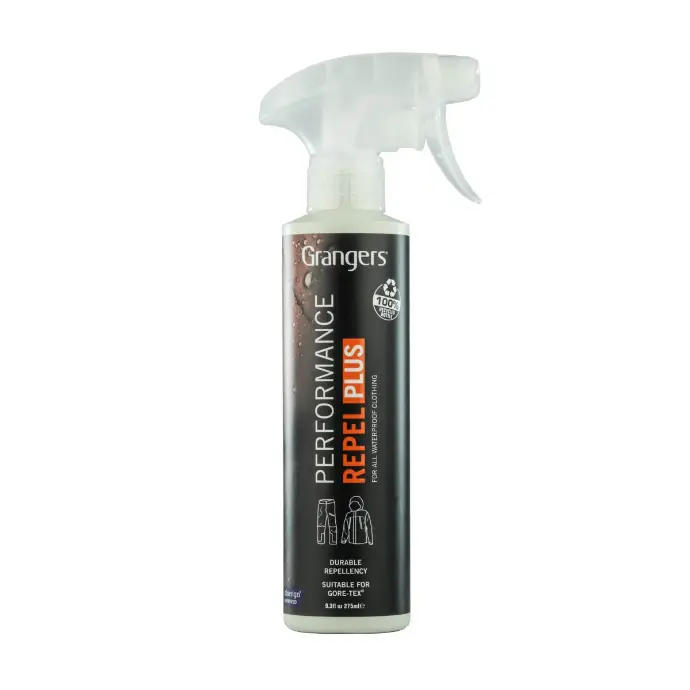
Leave the garment in the machine and run it again with a wash-in reproofer. This restores the DWR coating so water beads again. Alternatively, take it out and use a spray-on reproofer.

6: Check it over
While it dries, check the pockets and fabric for residue, such as white marks or gunk. If you find any, put it through another wash.

7: Dry (with low heat if label allows)
Heat reactivates the DWR coating. Check your garment’s care label first. If it allows tumble drying, use the lowest heat setting.
Do NOT tumble dry your Supershirt. Read Supershirt wash instructions here.
Remember
Most “leaks” are sweat. Riding a hard trail on a hot day, you can sweat up to half a litre an hour. Your jacket’s membrane lets that vapour out, but only when the outer fabric is clean and beading. Once it’s dirty or wetted out, the moisture condenses inside and feels like a leak.
Remember
Wetting out isn’t leaking. If your jacket darkens and stops beading, the membrane is still keeping rain out, but it can no longer breathe. Washing and reproofing fixes it.
Remember
Household detergent damages technical gear. It’s designed to help fabrics absorb water, it strips the DWR coating, and its additives can permanently damage the membrane.
Remember
PFAS-free coatings need more care. The PFAS-free DWR coatings now used across the industry wear off faster, especially with road spray, diesel and petrol. Regular washing and reproofing matters more than it used to.
Remember
Jet washing is fine. Keep the nozzle about a metre from the fabric.
How to fix a hole in your waterproof gear
Nightmare.
You've just caught your lovely new waterproof jacket on a barbed wire fence.
Or melted a hole in your riding pants on your hot exhaust.
Don't worry, all is not lost.
Watch Jim's step by step guide on how to use glue and patches to get you back on the trail.
YOU WILL NEED...
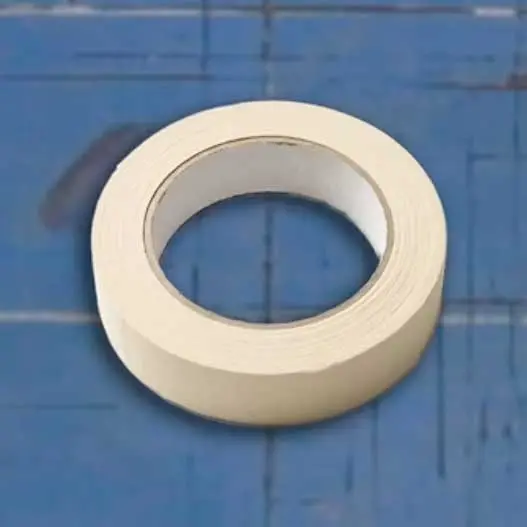
Masking tape
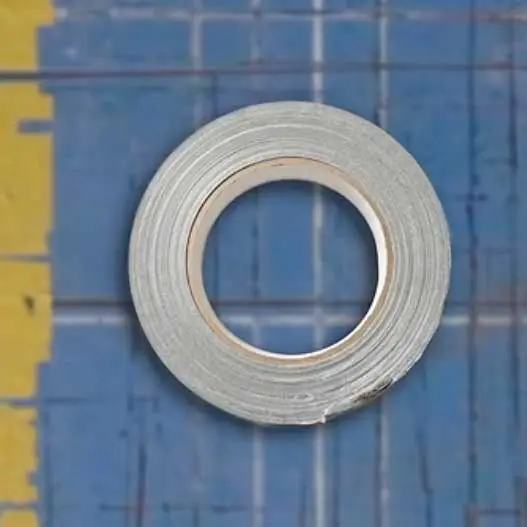
Duct tape
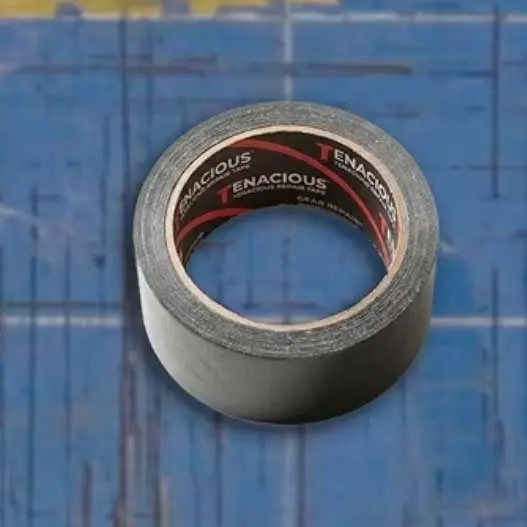
Fabric repair tape or patches
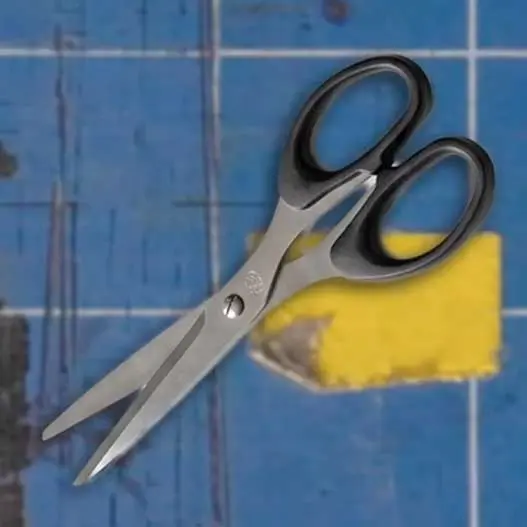
Scissors
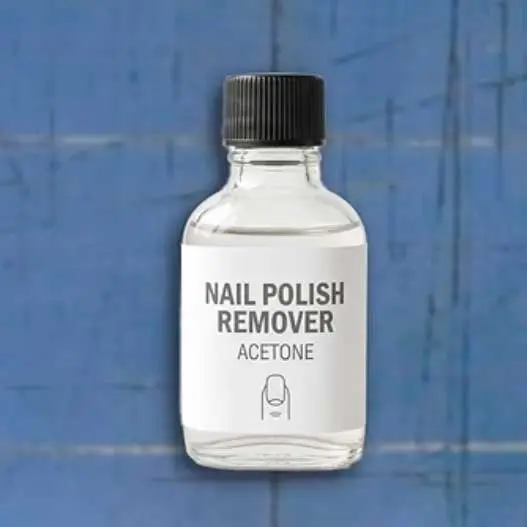
Acetone or nail polish remover
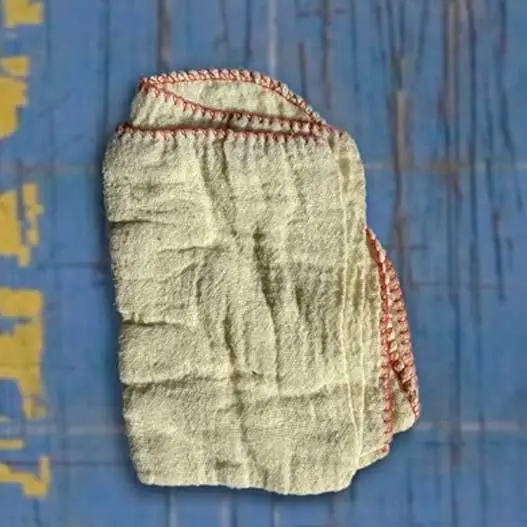
Cloth
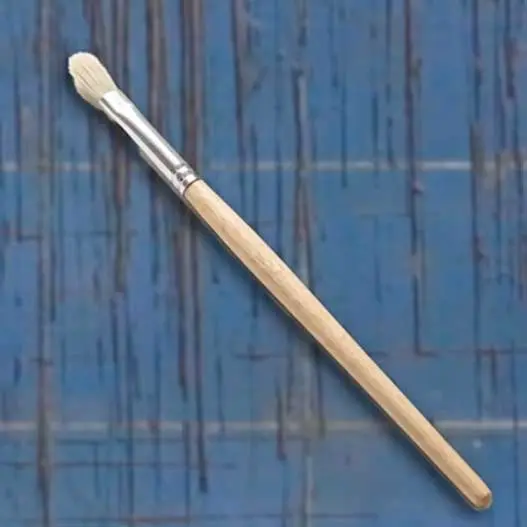
Paint brush
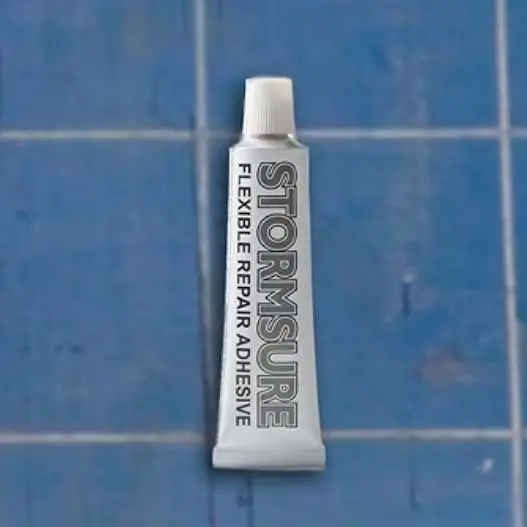
Fabric glue
STAGE 1:
A temporary fix on the trail
The aim is to keep you dry until you get home.

1: Dry & clean the area
Dry the fabric around the hole and wipe off as much dirt as you can. A patch won’t stick well to wet or dirty fabric.
2: Turn the jacket inside out
The inside is cleaner, so a patch sticks better there. Lay the damaged area as flat as you can on a hard surface.

3: Patch the inside
Use a fabric repair patch (Tenacious Tape, Stormsure patches or adhesive nylon repair fabric). Duct tape works in an emergency, but it sticks less well. Round off the corners with scissors so they don’t peel up, and touch the sticky side as little as possible, as skin oil stops it bonding.

4: Press the patch down hard
Use your fingers, then the back of a pair of scissors. Warmth helps the adhesive bond, as does time: 12 to 24 hours is ideal.

5: Patch the outside too
Turn the jacket right side out and put a second patch over the tear. It won’t stick as well as the inside one, but it protects the repair while you ride.

6: Keep spares
If a patch peels off, stick another one on. It only needs to get you home.
STAGE 2:
A permanent repair at home
Allow 24 to 48 hours, mostly for the glue to cure.

7: Remove the temporary patches
Peel the outside one first, then the inside one. Go slowly, peeling in the direction of the tear, so you don’t make it bigger.

8: Wash the jacket
Follow our washing guide. This removes the dirt that was sealed under the patches.
9: Clean off any sticky residue
Put a little acetone (nail varnish remover) on a lint-free cloth and wipe the area. Never pour it directly onto the jacket. Isopropyl alcohol works if it’s all you have, but it’s harsher.

10: Hold the tear flat
With the jacket right side out, lay the tear flat and cover it with masking tape. Make sure there are no creases: creases become leaks.

11: Set it up inside out
Carefully turn the jacket inside out without moving the masking tape. Lay it flat somewhere it can stay for 24 hours, with weights to stop it moving, kept clear of the tear.

12: Glue along the tear
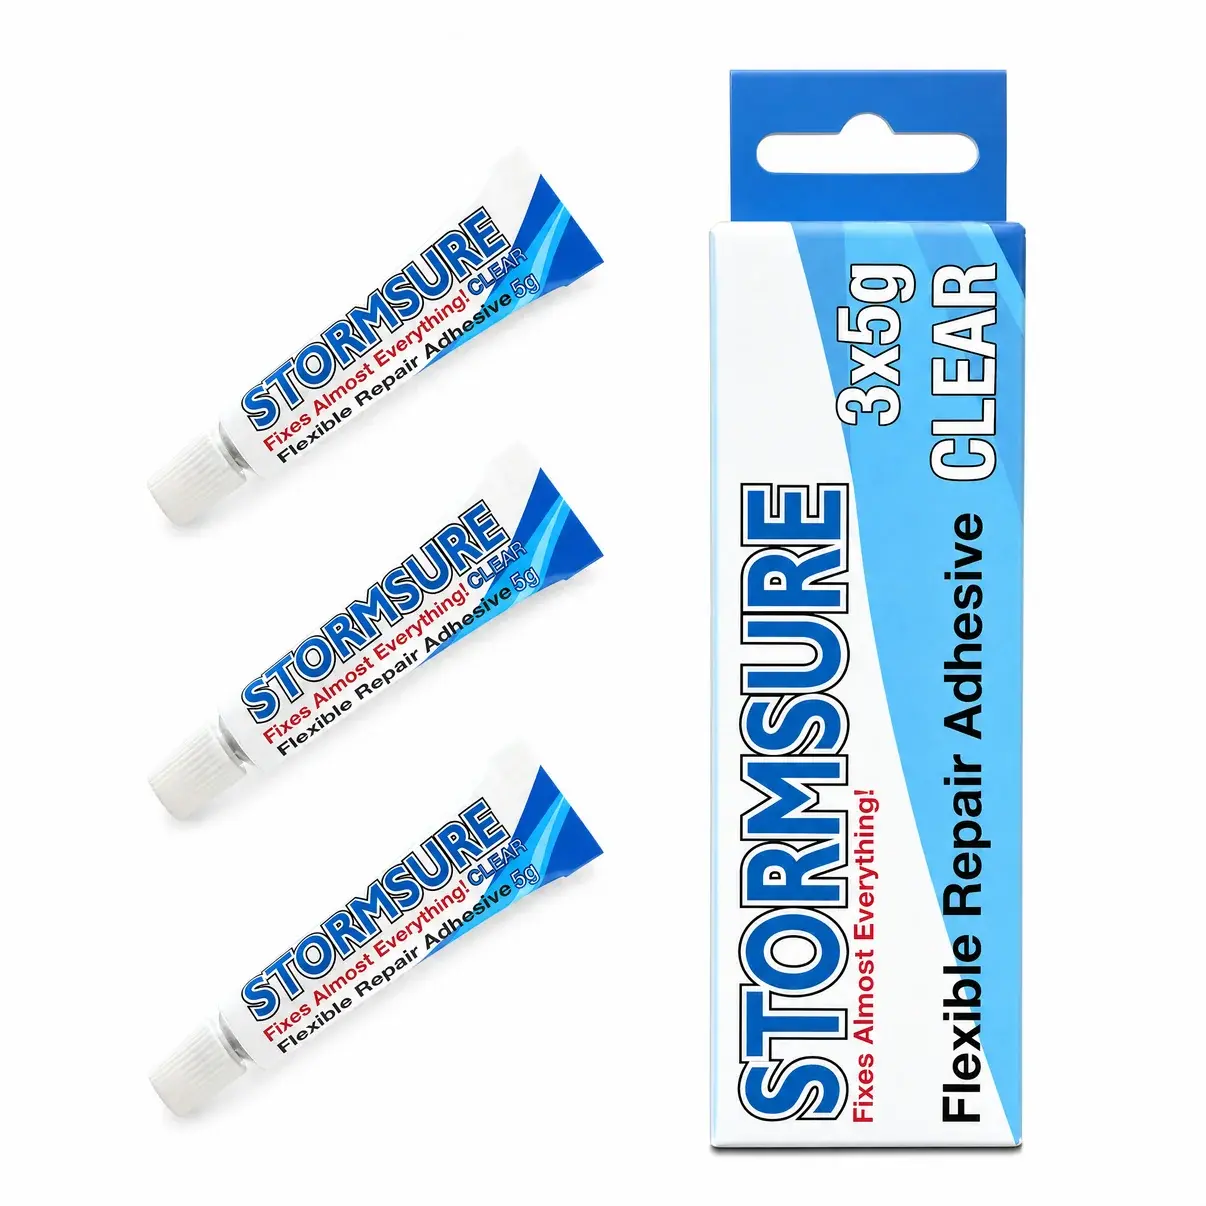
Run a line of flexible fabric repair adhesive (we use Stormsure) along the tear itself, not all around it.

13: Work the glue in
Use a small paint brush to stipple the glue into the fabric, pushing it into the mesh inner layer. Then spread it about 10mm beyond the tear on every side, keeping it as flat as possible.

14: Leave for 12 to 24 hours
Until the glue has fully set.

15: Finish the outside
Turn the jacket right side out and remove the first masking tape. Mask a neat box 2 to 3mm out from the tear. Run a thin line of glue along the tear, stipple it in, and spread it over the edges of the masking tape.

16: Peel the masking tape after 6 hours
For a clean, crisp edge, then leave the glue to cure for the full 12 to 24 hours.
17: Reproof the repaired area
The acetone strips the DWR coating, so restore it with a reproofer once the glue has cured.
How to wash your Supershirt
There is one golden rule - DON'T use heat.
The UHMWPE blended fabric in The Supershirt is great at protecting you, but it's temperature sensitive.
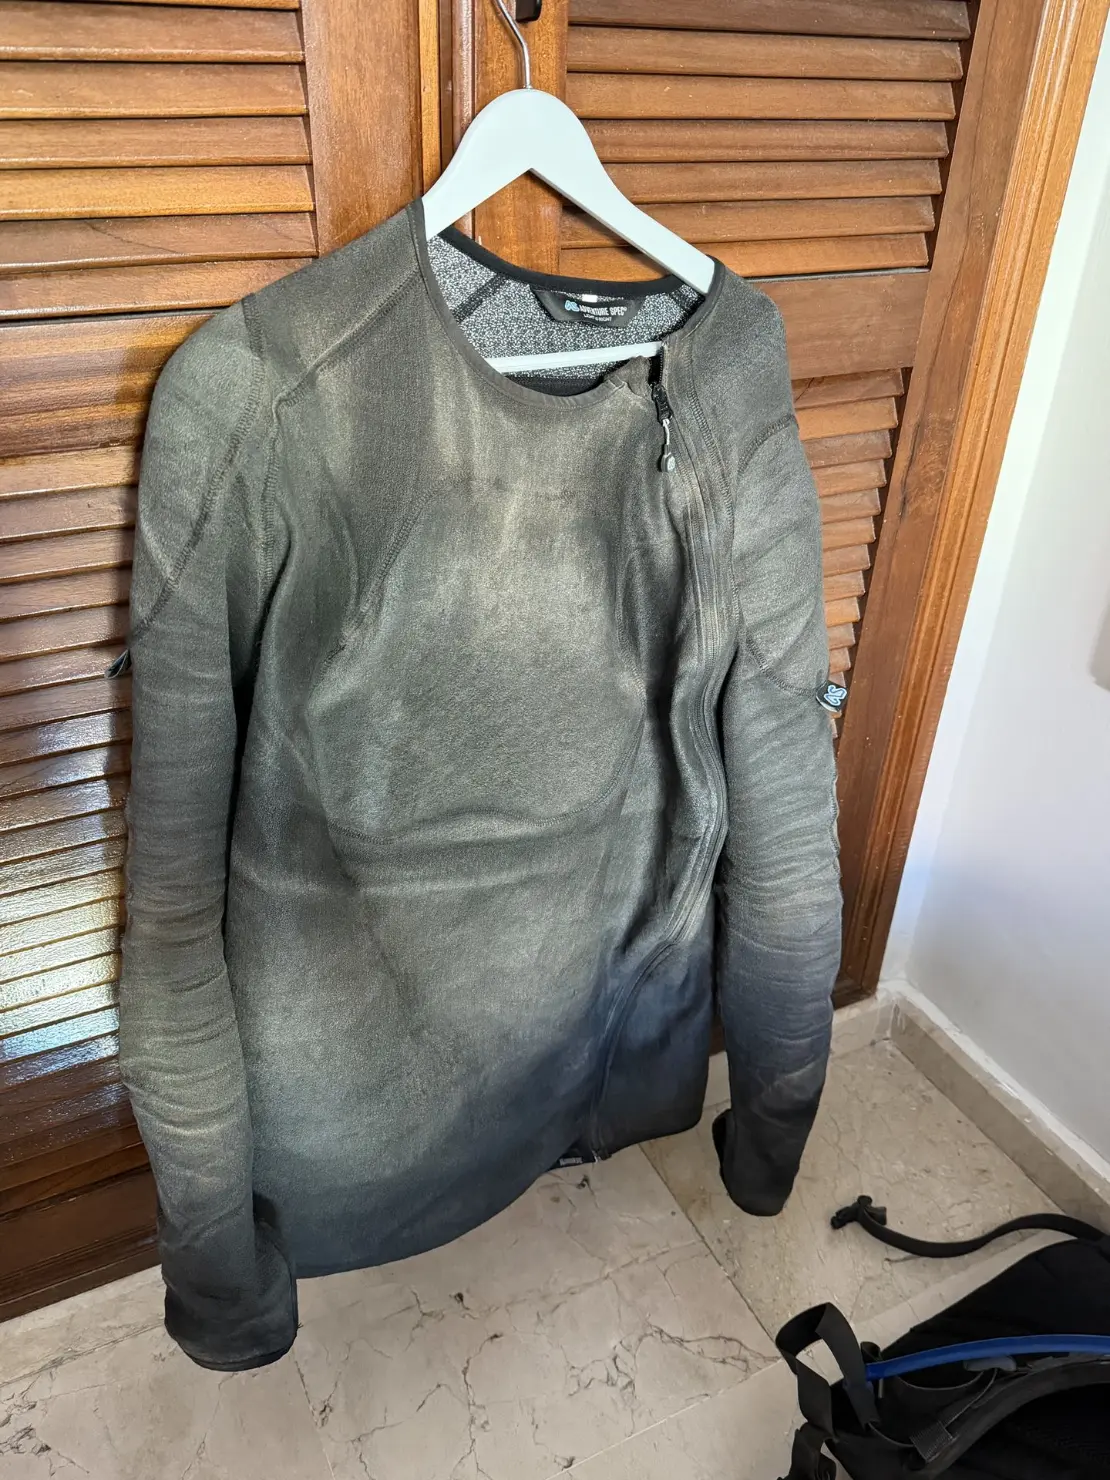
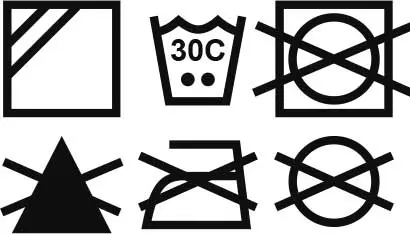
Wash with like colours on a cold wash.
Turn inside out when washing.
Do not use biological detergents.
Do not use softeners.
Do NOT iron.
Do NOT tumble dry.
The UHMWPE blended fabric used in The Supershirt is temperature sensitive. Washing on a high heat, ironing or tumble drying may compromise its effectiveness.
Wash on a cold wash only.
Drip dry on a line.
The products we use to wash & re-proof our gear
There are many options on the market.
This is what we use.
Why don't we stock it?
It's easier and more cost effective for you to order this or similar locally in your own country / region.
The patches & glue we use to fix holes in our gear
There are many options on the market.
This is what we use.
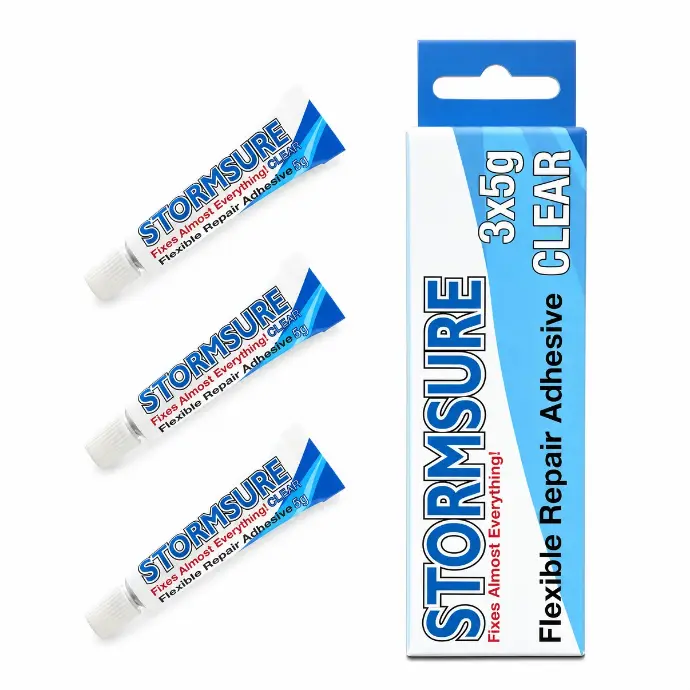
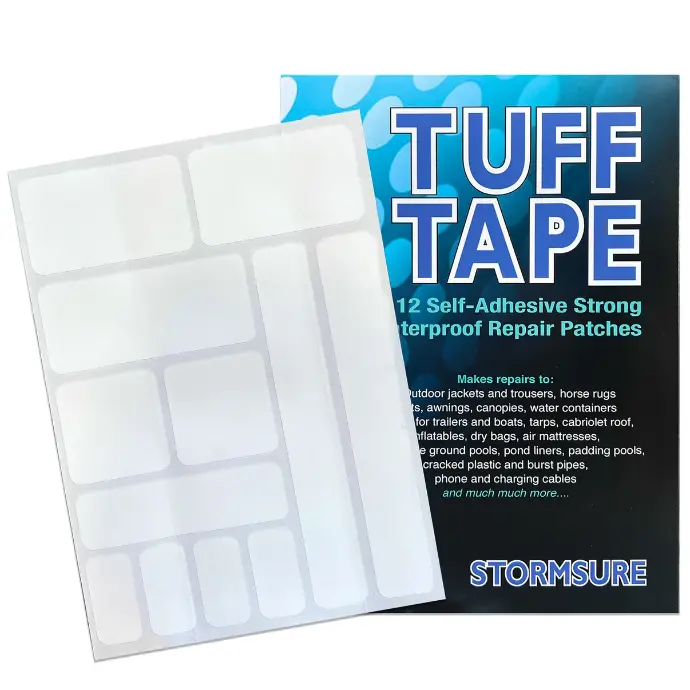
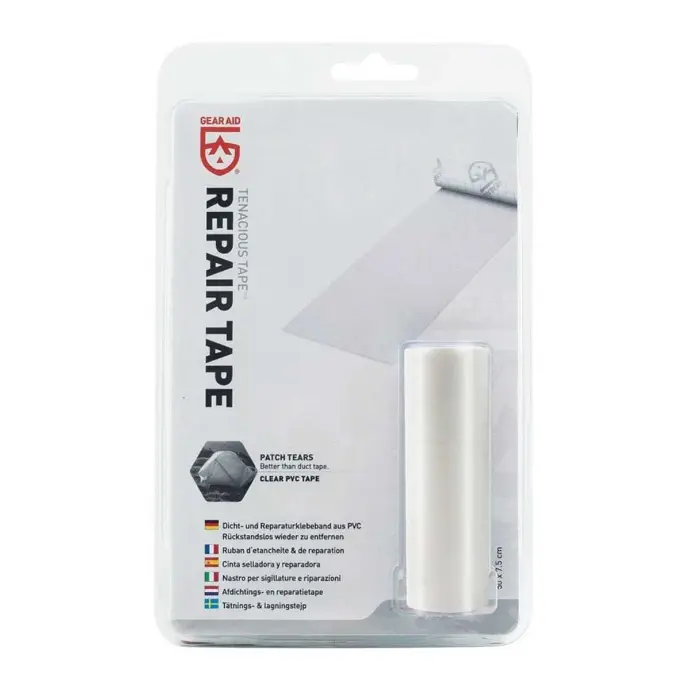
Need help with a professional fix?
Can't fix it yourself?
We will do our best to help.
Adventure Spec operates in about 40 countries via 3 regional hubs in the UK, USA and EU.
Unfortunately we don't have a dedicated repair centre that can service all these locations right now.
However, where we can we will help you as much as possible.
Drop our Helpdesk a Ticket with an outline of the damage to your gear and our team will take a look and either invite you to send your gear to us where possible, or direct you towards professional repair service we trust.
Thank you!